
Ever wondered what the soft fabric covering the roof inside of your car is called? It’s a headliner! The headliner serves to insulate, soundproof and elevate the aesthetics of your vehicle’s interior. However, this interior cloth is subject to wear and tear over time, often resulting in sagging or discolouration. In this blog post, we’ll guide you through the comprehensive process of replacing your headliner fabric, an essential aspect of maintaining your vehicle’s interior appeal and functionality.
Assessing the Damage
Before getting your hands dirty, it’s crucial to assess the extent of the headliner’s damage. Signs of deterioration include sagging fabric, stains, tears, or even unpleasant odors from mildew growth. While minor issues like small stains might be resolved with some cleaning, sagging or torn cloth generally signifies the need for a replacement. Understanding the severity of the issue helps determine whether a repair could suffice or a total replacement is needed, saving you from unnecessary costs and efforts.
Preparing for the Replacement
Preparation is key for a smooth headliner replacement. To begin, gather the necessary tools and materials. You’ll need a new roof fabric, adhesive, screwdriver, scissors, and a utility knife. Before starting, ensure your vehicle’s interior is clean and clear of personal items. Remember to disconnect the vehicle’s battery and remove light fixtures or accessories attached to the headliner for safety reasons. Lastly, handle interior components with utmost care to avoid accidental damage.
Removing the Old Headliner Fabric
Here comes the challenging part — removing the old cloth. Start by detaching the hardware holding the board, such as visors, grab handles, and clips. Slowly lower the headliner board without bending it. Be careful not to damage other interior parts. Once the board is removed, peel off the old fabric. If there’s any adhesive residue, remove it using a soft bristle brush or sandpaper, ensuring the surface is clean for the new fabric.
Choosing the Right Replacement Fabric
Choosing the right fabric is a crucial part of the headliner replacement process. These fabrics are typically foam-backed cloth, vinyl, or suede. Your choice depends on factors like color, texture, and the compatibility with your vehicle model. Some fabrics offer better insulation and durability than others, so consider your vehicle’s needs and your personal aesthetic preferences while making your choice.
Installing the New Headliner Cloth
Now, it’s time to install the new fabric. Start by applying the adhesive to the headliner board and the back of the cloth. Allow it to become tacky before laying the fabric onto the board. Start from the center and work your way to the edges, ensuring there are no wrinkles or bubbles. Trim any excess cloth and reattach the board into the vehicle using the original hardware. Remember, patience and precision are key to a successful installation.
Headliner Maintenance Tips
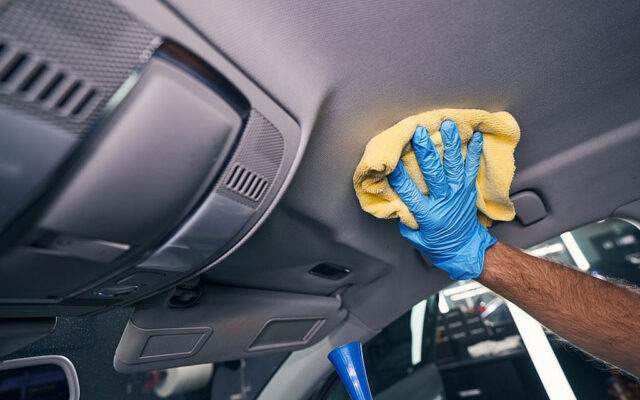
Once you’ve replaced your headliner fabric, regular maintenance can significantly prolong its lifespan. Avoid harsh chemical cleaners, as they can damage the fabric and adhesive. For stain removal, use a soft cloth and mild cloth cleaner. Regularly vacuum it to prevent dust accumulation. Keep your vehicle cool and ventilated, as excessive heat and humidity can cause the adhesive to loosen, leading to sagging cloth.
Seeking Professional Help
While DIY headliner replacement is feasible, there are times when professional help might be your best bet. Complex headliner designs, a lack of experience, or time constraints can all make the DIY route more challenging. In such cases, consider hiring a reputable automotive interior specialist or upholstery shop. Ensure they have positive reviews and an established record of quality work. After all, your vehicle’s interior deserves the best care it can get.


